
UNDER CONSTRUCTION - Menu links may be unreliable for a short period.
Designing Colour Charts
There are several different methods of colour chart design but this is my favourite. I call it The Trace and Play.
I love a good knitting chart and probably spend more time than I should drawing up grids that I'm never going to use. Occasionally I get asked how I go about designing my charts. Usually I avoid answering because there are quite a lot of steps involved in the thought process. Then I figured, if I write it out once I can just refer back to this page.
Thus we have this, the how-I-do-it method of charting colour patterns. It's basically complicated tracing. The source image is positioned underneath a blank grid. Individual grid cells are coloured in to represent the design, then we tweek until we're happy.
Step 0 – Before you begin.
To use this method you will need image editing software that allows you to work on multiple layers. I use Photoshop Elements, but there are free programmes available that allow you to do similar things.
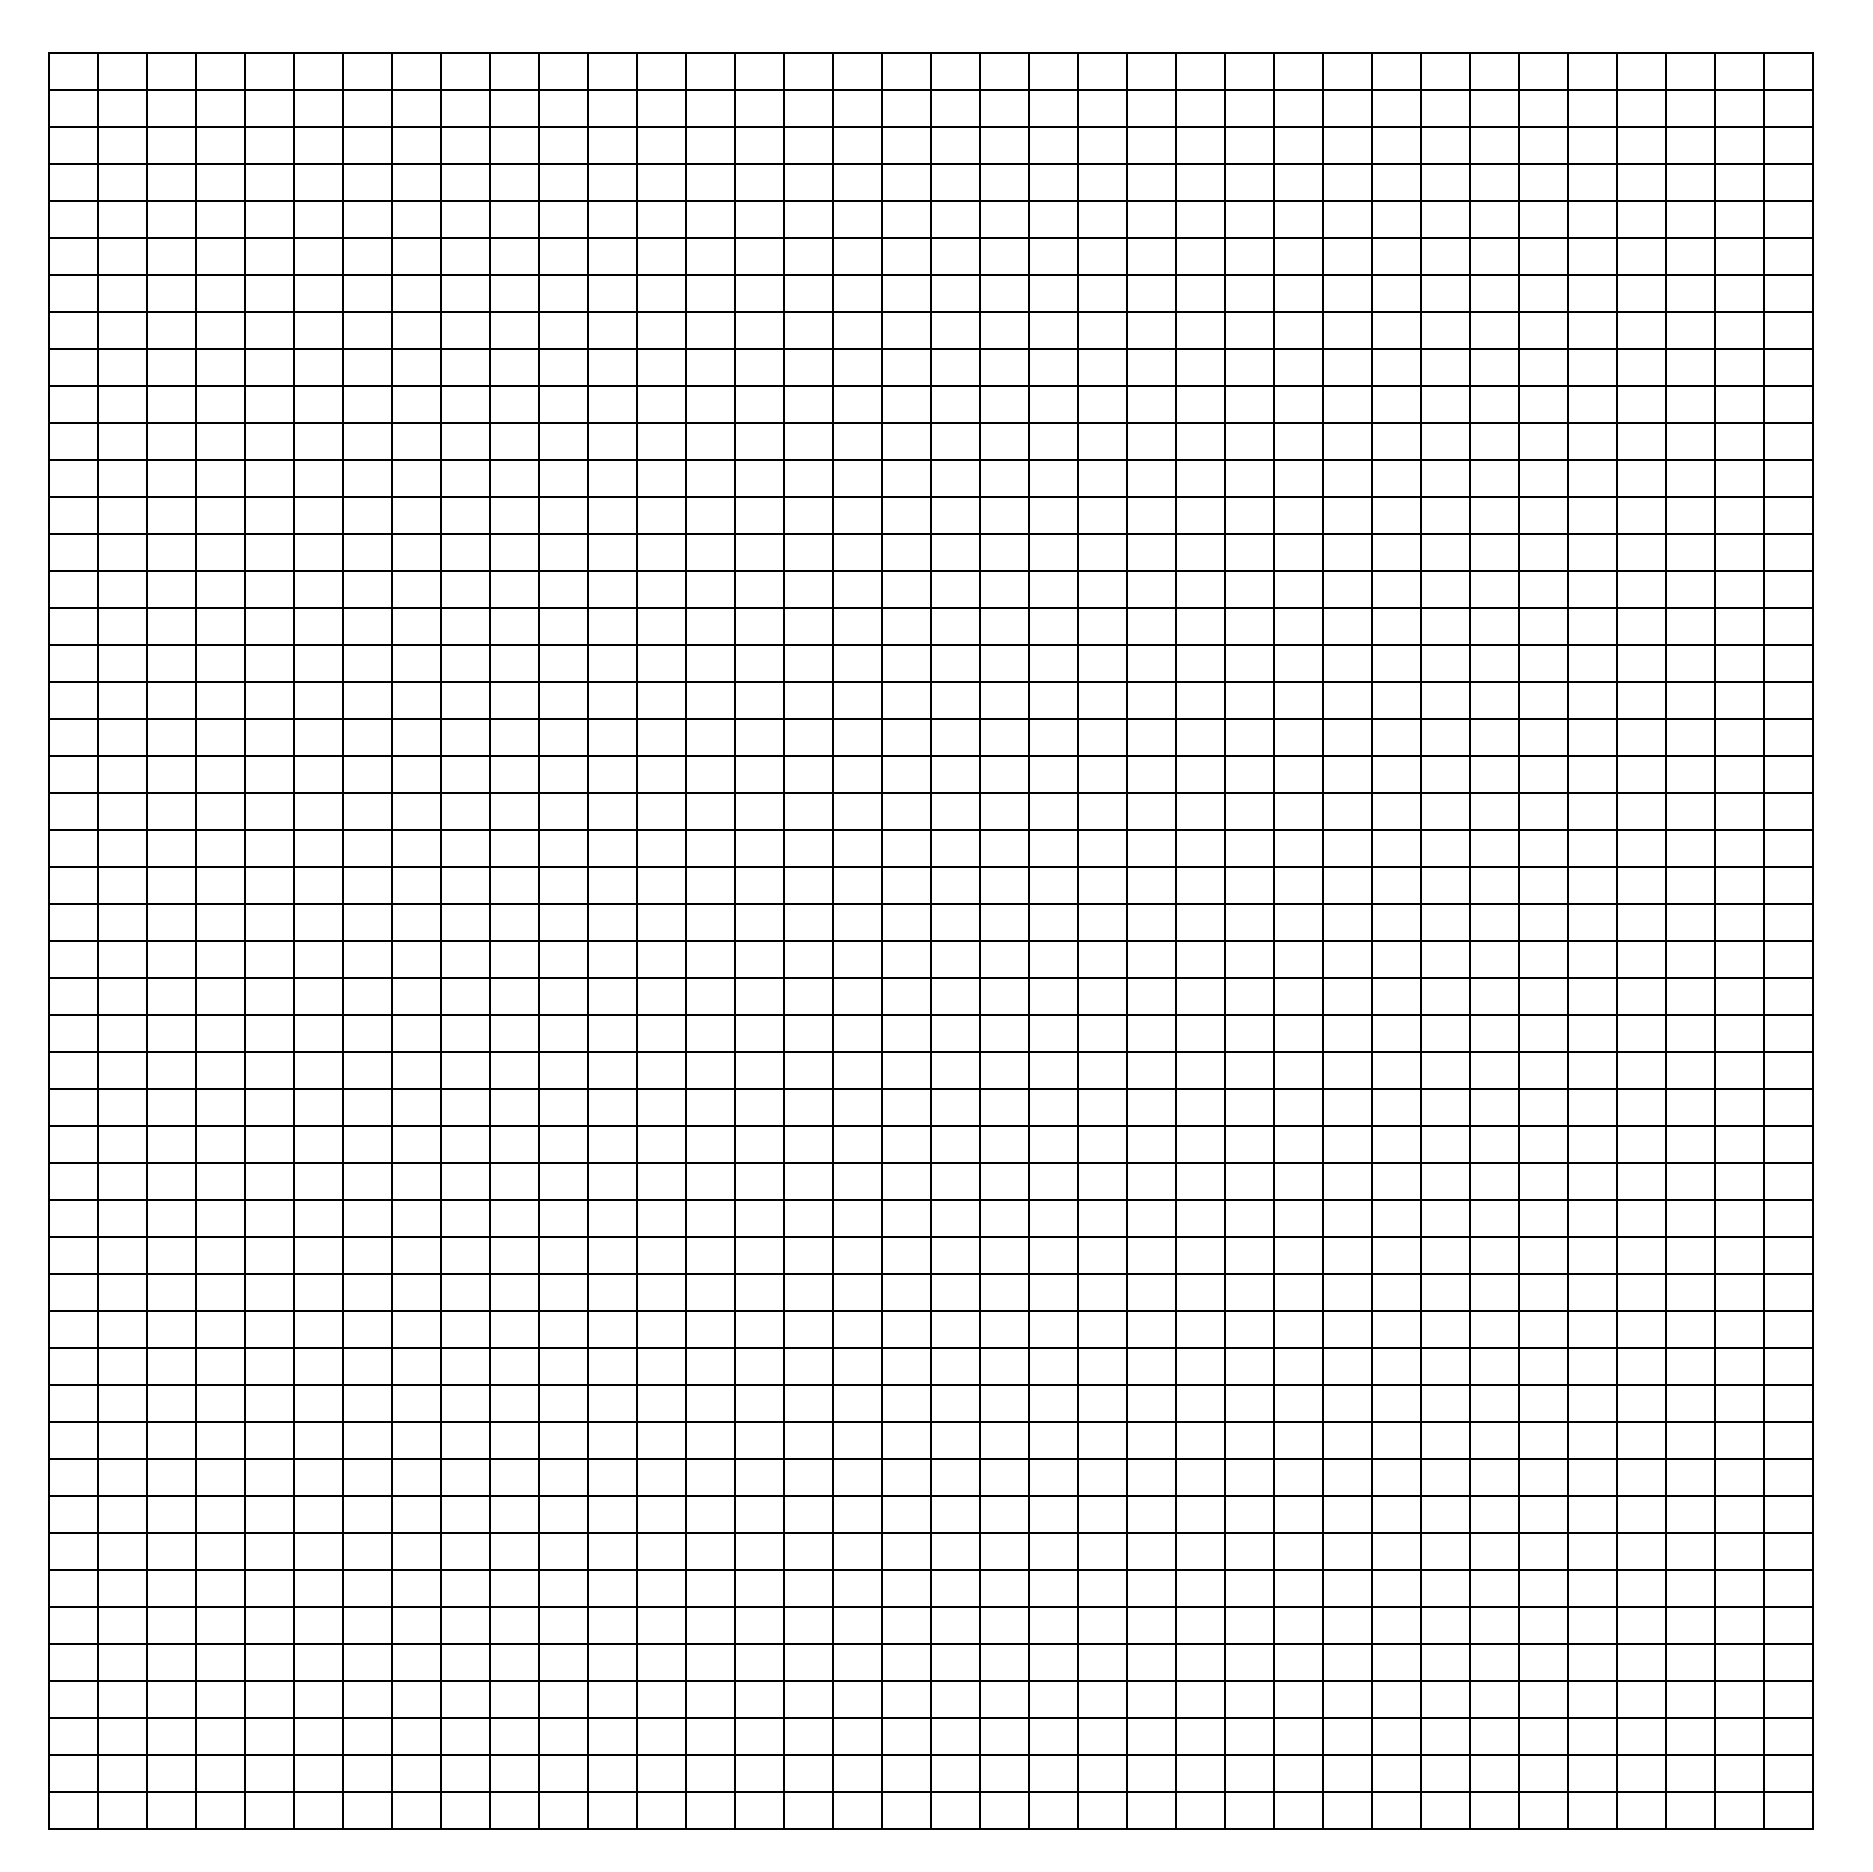
Step 1 – Set up a grid.
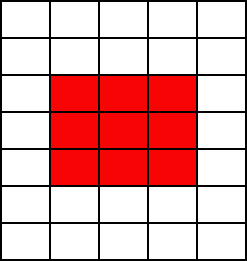
Begin with a blank grid. I always use one that is transparent and big enough that new designs can grow in unexpected directions. Individual knit stitches are rectangular, so each cell should be about three wide to two tall for stockinette designs.
I've gone through setting up graph paper for knitting before, but converting generated graph paper it to a neat transparent grid is fiddly and sort of unnecessary if I've already done it. Here's my basic stocking stitch grid (right click to save). It's a .png image file which doesn't blur the same way .jpg files do and is friendlier to colours than .gif files are. Open it up in your image editing software.
Now is also a good time to set your paint bucket/fill options. Contiguous fill should be turned on so you colour one grid cell with each click. If there is an anti-aliasing option it should be turned off so you can fill and refill individual cells without altering the grid lines.
You'll also want to be able to quickly delete the contents of a cell. Photoshop has a magic wand tool that allows you to select the contents of a cell with one click, then hit delete to erase it. Again, anti-aliasing should be turned off and contiguous should be turned on.
Step 2 – Choose an image.
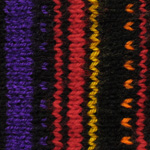
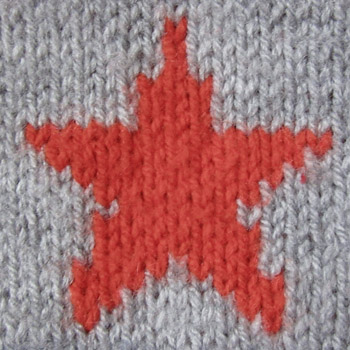
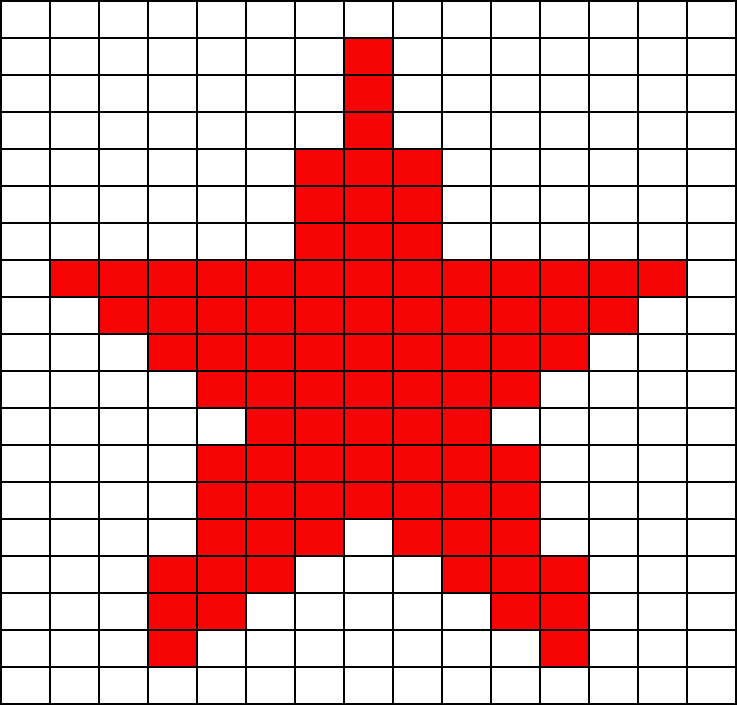
This could be a photo, a sketch, a diagram, whatever you want. Practice will help you figure out which shapes and angles work best, but simple is best to start with. I'm going to choose a five point star.

Copy your image to a different layer in the same image file as your grid. Arrange the layers so that the image is underneath the grid.
Step 3 – Alignment
Knitting grids are worked from the bottom up. Do you want your design to be viewed that way up, or will the knitting be viewed from the side? If there are any straight lines in your image aligning them parallel to a grid line will give a neater edge. If it's symmetrical do you want it centered on a grid line or in a single cell? The answers to all these questions can significantly change your charted design.
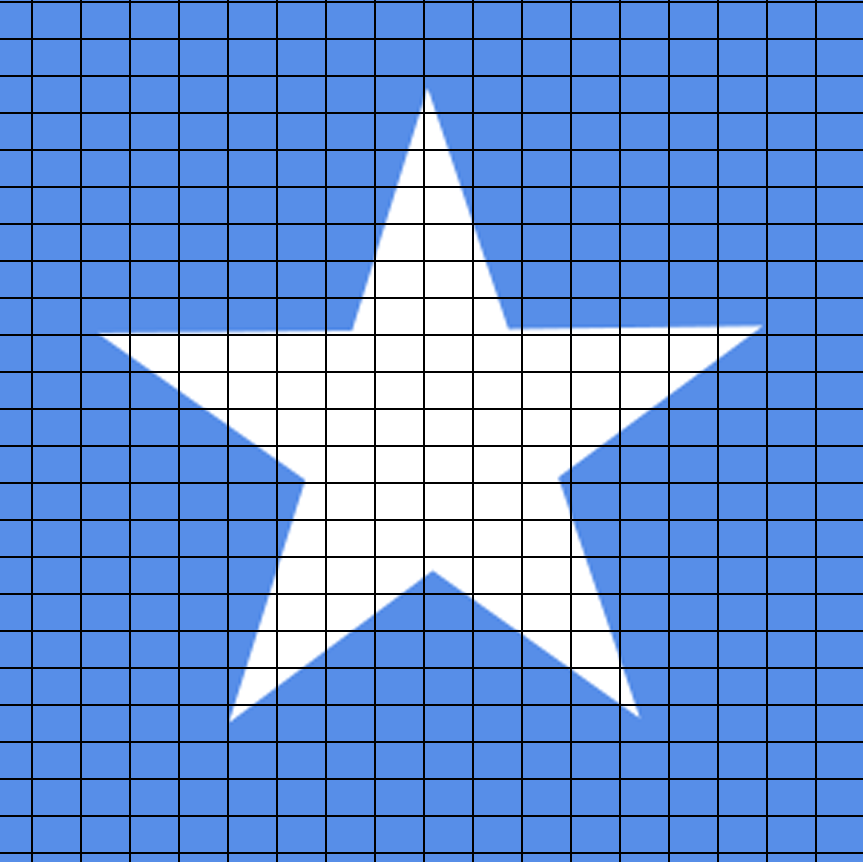
I've rotated the star so that it matches the orientation of Captain America's star when viewed in the same orientation as the chart. You may begin to sense my reason for choosing this shape. Happily this also makes the design symmetrical which means I only have to chart one side of it and can copy/paste the rest! Woo! Less work.
Step 4 - How big should it be?
This is a surprisingly complicated question. If exact size isn't important it will give you a lot more freedom during the design process, but if you're going to try and fit your design into an existing knitting pattern there are several things to consider.
Do you want to centre the design? If a knitted item is an odd number of stitches wide you will need to make the design an odd number of stitches across or the edge borders won't match. Similarly if the knitted item is an even number of stitches wide, your design will need to be an even number of stitches across. Ditto for height.

Do you want the design to repeat? If a knitted item is 20 stitches across it's easy enough to work out that we could have 2 repeats of a 10 stitch design, 4 repeats of a 5 stitches design, etc.
But what about spacing? I like it when the gaps between the designs and the borders all match. If a design is 4 stitches across and requires a border of one stitch each side that's a repeat of 6+1 and suddenly it doesn't work on a 20 stitch item anymore. Change the border to 2 stitches each side and suddenly it will fit again with a repeat of 6+2. The moral is do the maths before you start designing the chart. Count it out, sketch it out, make sure anything you're going to spend time designing will be fit for purpose.

Chart design is almost always about choosing which details can be left out. Figure out which elements are essential and make sure you've left enough space to include them. If I were designing an alphabet it would be at least five stitches in height. To see why, try making a shorter design for the letter “s”.

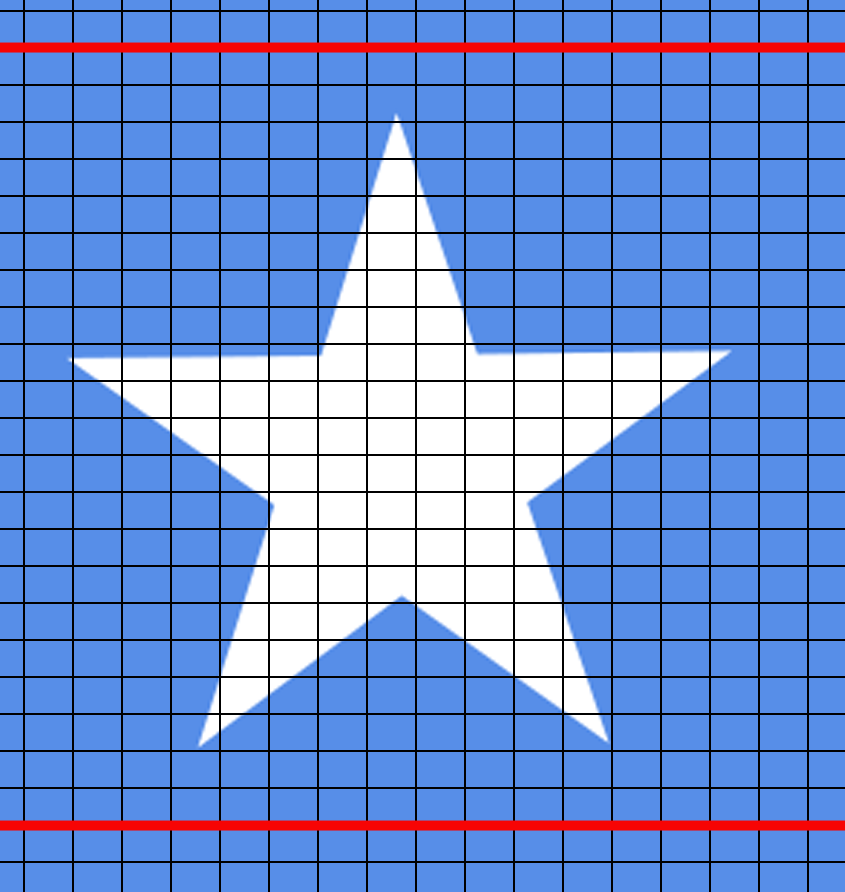
Once you've worked out the size limits on your design, sketch them out on the chart. For example my star needs to fit into a section of scarf that is 21 stitches high and 41 wide. The limiting factor here is the 21 stitch height, so I've sketched out some lines on the chart and fitted my star into them. Width is unimportant because I'm intending the star to be off-centre horizontally.
Step 5 – Sketch/Trace.
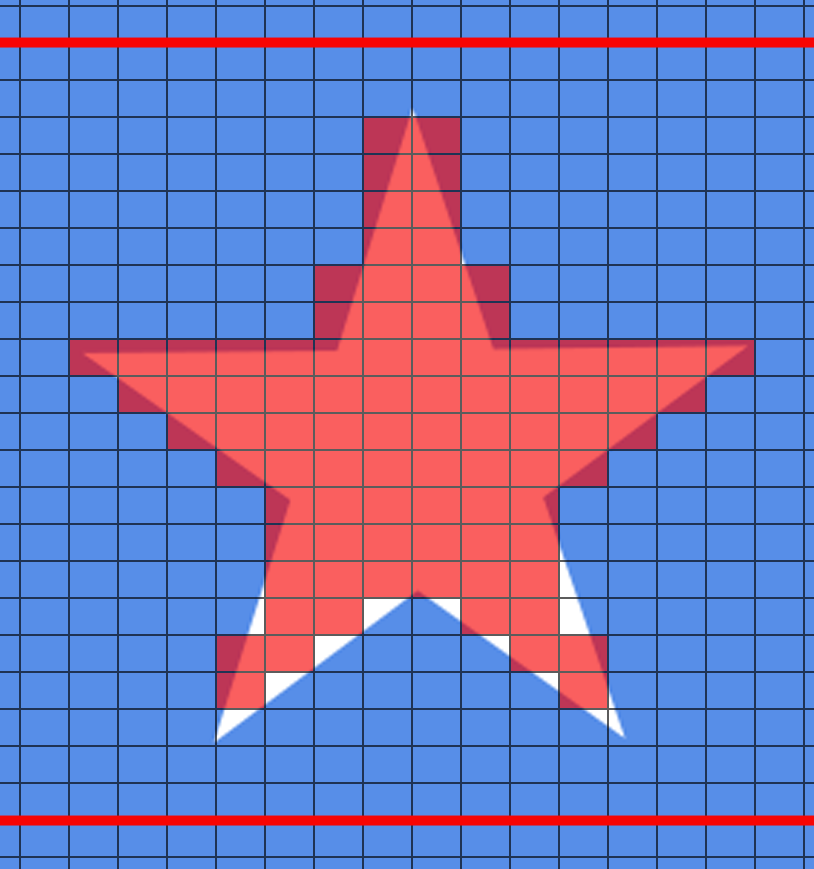
Chose a contrasting colour and jump straight in. Start sketching out the edges and any major details by filling grid cells that fit the shape of the image. This is a good step to repeat a couple of times. Start fresh each time and try something different. Like the pencil sketch stage of an artwork, this step should be quick and imperfect. Try to keep within the size limits though.

As the chart starts to fill in it may help to fiddle with the opacity of the grid layer so that you can still see the original image as you work.
Duplicate the layer with your designs. Hide it. Sometimes you will think that design was better before I fiddled with it and now you can refer back to the original.
Step 6 – Adjust and Refine.
This step is the most important and most time consuming. We're going to make the chart better than we could achieve from tracing alone. Tracing is a good starting point but the most accurate effort does not always make the best chart. A good knitting chart does not contain unecessary details. Proportions and angles are adjusted to look neater without worrying that they don't exactly match the image we started with.
Choose your favourite sketch or combine elements of several sketches into THE MASTER SKETCH.
Hide the original image and look at the chart. Does it make sense? It's important that the chart stands on its own because it's all that will show in the knitting. Neaten things up as best you can with the image turned off.

Turn it on and off again. Adjust and Refine.
Compare the image and the chart side by side. Is there anything missing from your design?
Walk away. Come back.
Regularly duplicate and hide the grid layer so you can change your mind and return to an earlier version.
Looking at my sketched star I decided the top spike was not pointy enough and the bottom spikes were too small and wobbly. After much, much fiddling I finalised my design.
Step 7 – Ease of knitting.
Mostly I knit charts using the double knitting technique. This means that I'm limited to two colours per row but I don't have to worry about carrying yarn across the back of the fabric. I can pretty much go from the refined chart to finished item.
Sometimes I use other colour work techniques, and in those instances I've noticed I do more adjustments to the chart as I knit. If I'm doing stranded knitting and come across a long series of stitches in one colour, I will try to break it up on the chart to avoid long floats of yarn. If I'm working blocks of colour (is that intarsia?) such as for these butterfly wings I will rework the design so that where I leave the yarn on one row is a better place to pick it up on the next.
Basically the design isn't complete until you've finished knitting it.
Fin.
You can see the final five point star design in situ on my Marvel scarf, which was all designed using this method.
<<< See more Chart Design Ideas.
© 2017 All desgins and images are copyright of ODDknit. If you enjoy the content of this website, please consider buying me a coffee at the link below.