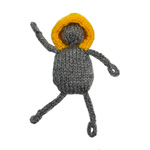
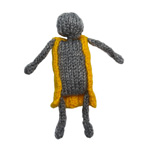
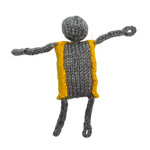
Hair (F2)
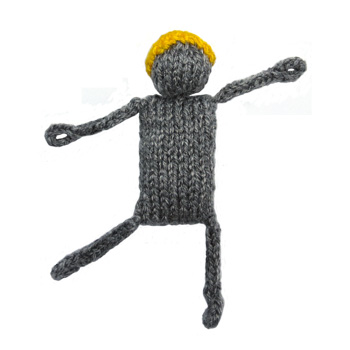
A hairline shaped cap for the keyring buddy's head.
You will need:
- scraps of yarn
- 3mm knitting needles.
- tapestry needle
- scissors
Pattern:
(A list of abbreviations is available.)
Cast on 5 stitches and work in the flat.
- Row 1: kfb, k2, kfb, k1 (7)
- Row 2: pfb, p4, pfb, p1 (9)
- Row 3: kfb, k6, kfb, k1 (11)
- Row 4: pfb, p8, pfb, p1 (13)
- Row 5: k –
- Row 6: p2, p2tog, p4, p2tog, p3 (11)
- Row 7: k1, k2tog, k6, k2tog (9)
- Row 8: p1, p2tog, p4, p2tog (7)
- Row 9: k1, k2tog x 3 (5)
Thread yarn through remaining sts and pull tight.
Making Up:
Figure out which side of the keyring buddy head is going to be the face. Sew the cast on edge of the hair into place above the forehead. The yarn through stitches are fixed into place at the nape, then the rest of the hair is sewn snuggly in place.
Variations:
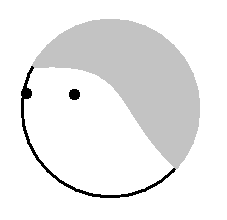


This tiny hair piece is very adaptable. With knit stitches on the outside the hair looks short and straight, with purl stitchs on the outside the hair looks short and curly.
To suggest long hair figure out where the parting is then knot half a dozen lengths of matching yarn along it. First use a needle to thread a longer-than-needed length of yarn under the parting line, then tie a firm knot in the centre. Repeat for each length of yarn and only trim as a final step. Unravel the yarn to make it curly.
Add a quiff by working a couple of extra stocking stitch rows immediately after casting on. Add side burns with just a couple of extra stitches when you're sewing the cap in place. With just little extra bits of embroidery you can change the shape of the hair completely!
Notes:
Needle/Yarn Size
As with most ODDknit patterns the yarn and needle sizes in the "you will need" section are just a guide. Feel free to improvise with whatever needles and yarn you have lying around - that's half the fun!
<<< Back to Keyring Buddy Pattern
<<< See more Toys and Games
© 2019 All desgins and images are copyright of ODDknit. If you enjoy the content of this website, please consider buying me a coffee at the link below.